Visual studio code (VS Code) is a free and open-source IDE that is developed by Microsoft. It is a lightweight IDE that has powerful features like smart code completion, code linting for potential errors, debugger, etc.
You can download and install an extension to set up the IDE for Python development. In this article, we will discuss how to set up VS Code for Python development in Linux.
Download and install Python on Linux
Visit and download the latest version of Python from its official website python.org and then follow how to install Python 3 on Linux for installing the latest version of Python on your Linux system.
Once it gets successfully installed move to the next step.
How to download and install VS Code on Linux
To can visit the official website of visual studio code i.e. https://code.visualstudio.com/ to download the most recent version of VSCode IDE. On the downloading page click on to download .deb file if you are using Debian, Ubuntu, Linux Mint, and other Debian-based systems.
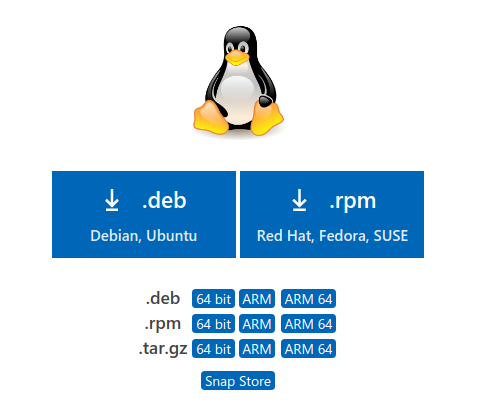
Download the .rpm file of VS Code if you are using an RPM-based system that includes distros such as Red Hat, Fedora, SUSE, CentOS, etc.
To download .deb file click here.
For downloading .rpm file click here.
To install the VS code from the source, click here to download the .tar.gz file.
How to install the VS Code on Linux
Now you have downloaded the vscode .deb, .rpm or .tar.gz file. You can install .deb or .rpm files directly by clicking on it. If you want to install it through commands in your terminal then use –
In a Debian-based distribution use –
sudo dpkg -i package.deb
On an rpm-based distribution use –
sudo rpm -ivh package.rpm
Please remember to replace the package with the name of vs code package that you have downloaded.
Installing VS code from source
You have already downloaded the .tar.gz file. First, navigate to the location where the file is downloaded and then use the following command in your terminal to extract it –
tar xvf package.tar.gz
For example –
tar xvf code-stable-x64-1608137260.tar.gz
Next move to the directory of the extracted package by using –
cd code-stable-x64-1608137260
And then prepare the build with –
./configure
Now use the following command to install the package –
make
make install
You can verify the installation of VS code by using-
code -v
This will display the version of vs code that you have installed on your system.
Setup the VS code IDE
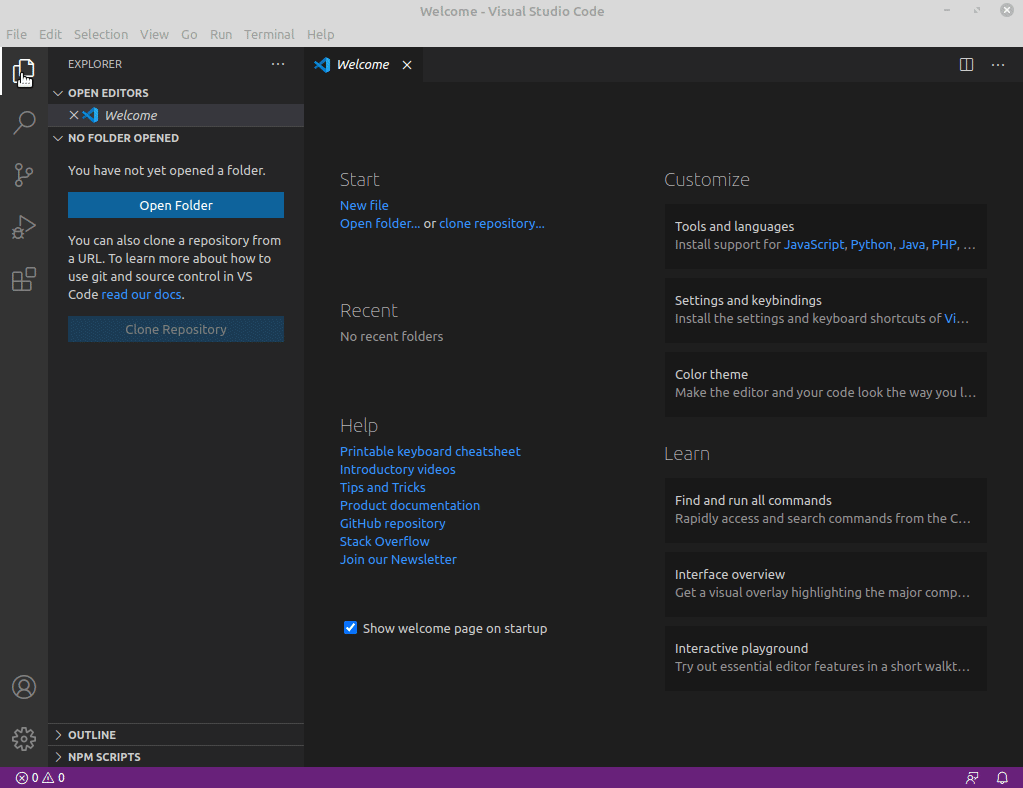
You have successfully installed VS code IDE on your system. Now search code in the main menu and click on the VS code icon to launch it.
Next press ctrl+shift+x or click on extensions as displayed in the image below and then search python in the search bar. Click on the first python extension that appears in the search results and install it.
Once the extension gets successfully installed, reopen your IDE, now if it suggests installing any additional packages then install them.
Now everything is ready you can start writing code.