LiVES is a free video editing software and VJ tool that is designed to be powerful and yet simple to use. This software has a blend of real-time video performance and non-linear editing. It supports various audio and video formats.
In this article, I will discuss how to install the LiVES video editor in Ubuntu.
Features of LiVES video editor
The key features of LiVES are –
- Smooth playback at a smooth rate
- Lossless backup and restore
- Multiple effects and transitions
- The real-time blending of clips
- Saving and encoding of clips
- Automatic VJ mode which can be linked to DJ software
How to install LiVES video editor in Ubuntu
We will install the LiVES video editor in Ubuntu through the PPA repository. This is the unofficial PPA that is maintained by Ubuntuhandbook.
Use the following command to add the repository to your Ubuntu system –
sudo add-apt-repository ppa:ubuntuhandbook1/lives
Next, use the command to refresh the package repository –
sudo apt update
Now use the given command to install the LiVES on your system –
sudo apt-get update && sudo apt-get install lives lives-plugins
When it asks for your confirmation press y and enter.
Start the LiVES video editor in Ubuntu
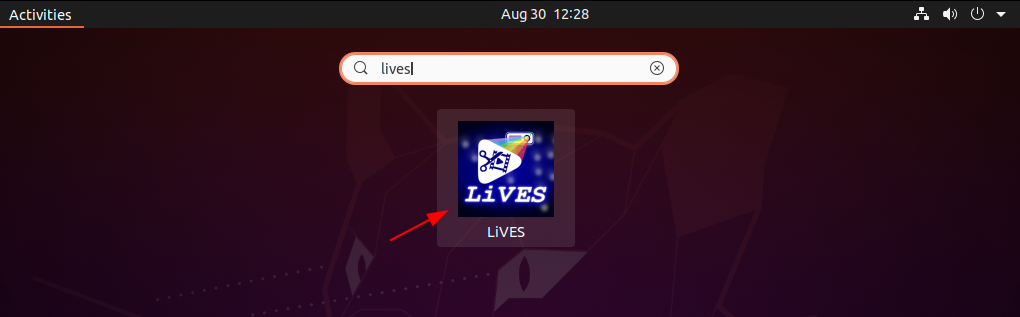
Once the installation of LiVES is completed on your system you can launch it from the activity dashboard. Search LiVES and when an icon appears like given in the image click on it to launch the application.
This will ask you for a few initial settings for example to select a working directory, select interface mode, etc.
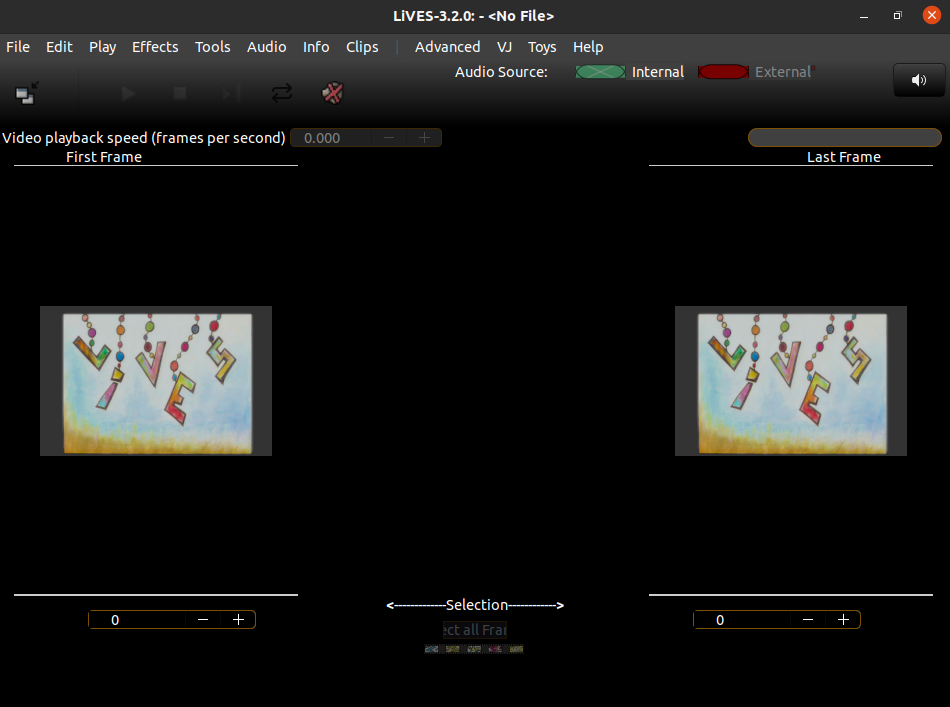
Finally, when it opens you will see its interface like given in the image below.
Conclusion
You have successfully installed LiVES on your system you can start editing videos. Now if you have a query then write us in the comments below.