Cinelerra is a free and open-source video editing software that is designed for both beginner and advanced users. It supports various audio and video formats.
Broadly there are three branches of Cinelerra i.e. Official HV, CV from the community, and GG which is CV + ‘Good Guy’ patches.
In this article, I will discuss how to install Cinelerra HV, CV, and GG in Ubuntu.
Features of Cinelerra video editor
The key features of Cinelerra are –
- Non-linear editing
- UI designed for professionals
- Unlimited layers
- Reverse audio and video in realtime
- CMX compliant EDL functionality
- Bidirectional, variable speed scrubbing
- Variety of overlay modes
- Nested sequences
- Various video transitions and effects
How to install Cinelerra video editor in Ubuntu
In this section, we will explain how to install different versions of Cinelerra i.e. Cinelerra HV, CV, and GG.
Installing Cinelerra HV
This is the original Cinelerra from the developer Adam Williams. The HV is the abbreviation of Heroine Virtual Ltd which is not a part of the official name. It does not offer developer or community support.
To install Cinelerra HV first go to the download page on its official website.
OR copy the link and use the wget command to download the Cinelerra –
wget https://webwerks.dl.sourceforge.net/project/heroines/cinelerra-7.3-x86_64.tar.xz
Next, move to the download location and use the command as given below to extract the package –
tar -xvf Downloads/cinelerra-7.3-x86_64.tar.xz
From the extracted directory use the following command to run the Cinelerra –
./cinelerra
For more information read the instructions given on the official website.
Installing Cinelerra CV
The CV stands for community version it focuses on stability. You can easily install it by adding its PPA repository to your system.
Use the given command to add the PPA repository –
sudo add-apt-repository ppa:cinelerra-ppa/ppa
Refresh local package database by using –
sudo apt update
Now use the given command to install Cinelerra CV on your system –
sudo apt install cinelerra-cv -y
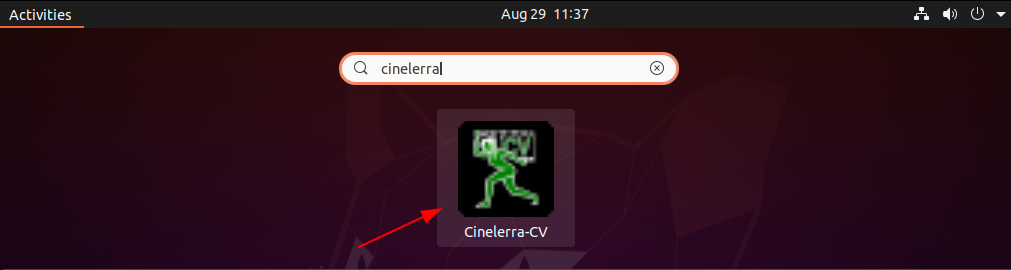
To start it search Cinelerra in the activities dashboard and then click on the icon as given in the image below.
The interface of Cinelerra cv will look as given in the image below.

Installing Cinelerra GG
Cinelerra GG is created by merging the codes of Cinelerra HV and CV. It has a fast development cycle This version of Cinelerra focuses on new features, improved stability, fast bug fixing, and expansion of the codec base.
Recently CinelerraGG has switched from providing Package or Tar distributions to only AppImage.
AppImage is a package format that can be run on any Linux distribution. You can visit the download page of CinelerraGG to download its AppImage package.
OR use the following command to download it –
wget https://cinelerra-gg.org/download/images/CinGG-20201031-x86_64.AppImage
Once it gets downloaded make it executable by using the given command –
chmod +x CinGG-20201031-x86_64.AppImage
Now you can run this application from your terminal –
./CinGG-20201031-x86_64.AppImage
The following image shows the interface of CinelerraGG –

Conclusion
You can choose a version of Cinelerra to install it by using one of the given methods. Now for any query, you can write us in the comments below.
Hi, I’ve been trying to install Cinelerra GG for several days now and I can’t get this following step done.
Because of that it will not install. Of course.
How on earth do you
a) find the file /etc/apt/sources.list
b) edit that file?
“Next edit the file /etc/apt/sources.list to make sure the added line contains [trusted=yes] as shown below:
deb [trusted=yes] https://cinelerra-gg.org/download/pkgs/ub20 focal main
”
How do you do this?
Do you add a line? How do you do this?
Please take me by the hand and explain to this Ubuntu newbie.
I did not see that “Next edit the file” instruction on the article.
Basically, the above installation guide tell you to download the installable file to your local machine and install it manually.
Did you follow exactly what is written above?