Apache is a free and open-source cross-platform web server software. It is one of the most popular HTTP servers. Generally, it is used in combination with MySQL, PHP, and other scripting languages and forms a robust platform for the deployment of web applications.
If you are using a Debian-based Linux distribution then you can follow how to install apache using the LAMP stack for the installation of apache web server on your system. On CentOS and RHEL, it is available with the name httpd.
In this article, we will discuss how to install and configure apache HTTP server on CentOS8 you can also follow this to install it on Red Hat Linux.
Prerequisites
You should have the following to install apache web server on your system
- CentOS 8 server up and running with internet connectivity
- You should have superuser privileges for installation of the packages
Installing apache on CentOS 8
Before you install apache on your system first run the following command to update the local package database –
dnf install -y update
And then use the following command to install the apache web server on centos8 –
dnf install -y httpd
This command will start downloading and installation process on your system. Once it gets installed successfully then go to the next steps.
Start and enable apache web server on your system
Use the following command to start the apache services on your system –
systemctl start httpd
and then enable it so that it gets automatically started on the next boot of your system.
systemctl enable httpd
Check the status apache webserver
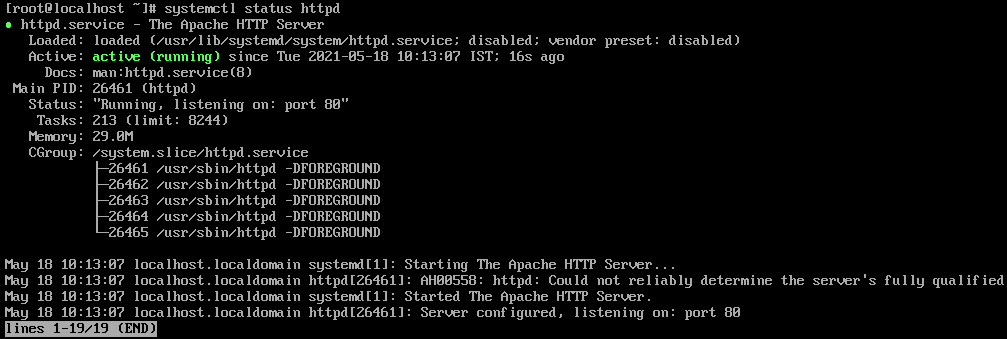
Now you can use the given command to check if your apache web server is running properly or not.
systemctl status httpd
If your HTTP server is running properly then you will see –
Adjust firewall on your system
By default CentOS 8 built-in firewall is set to block apache web server traffic. Use the following command to allow the inbound and outbound HTTP server traffic on your system.
firewall-cmd --zone=public --add-service=http --permanent
firewall-cmd --zone=public --add-service=https --permanent
Now reload firewall to make changes effective –
firewall-cmd --reload
Test apache web server on CentOS 8
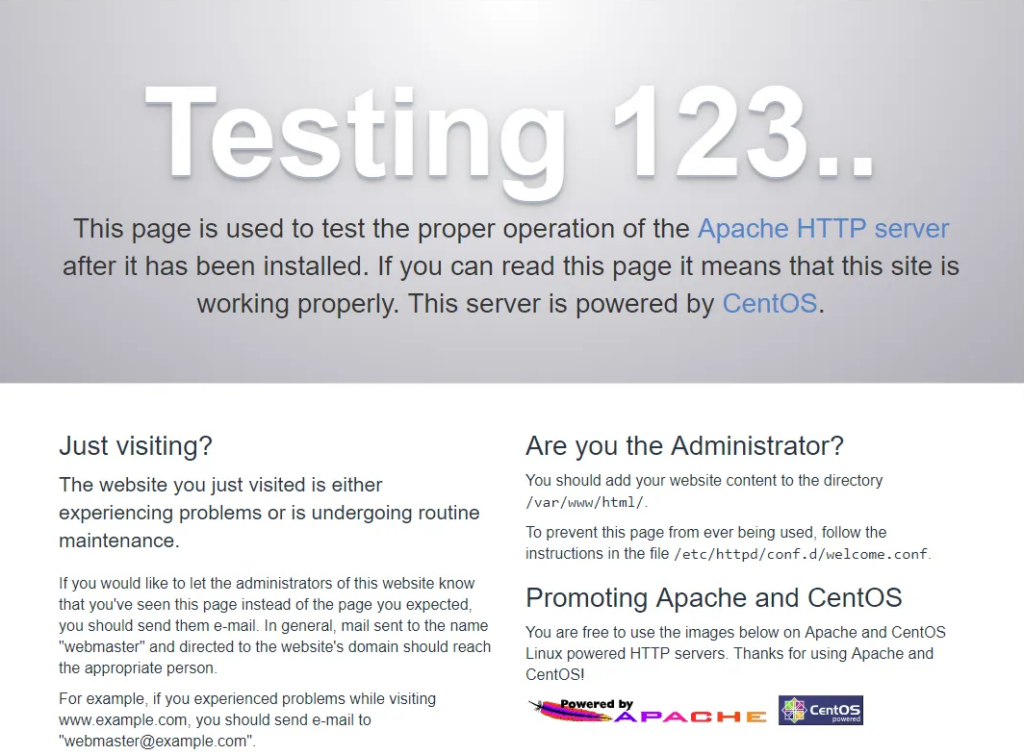
Now you set up everything on your system it’s time to verify the working of the apache web server on CentOS 8. If you are using a desktop environment then open a browser and type the given URL –
http://ip_or_server_domain_name
If the webserver is working properly then you will see the given page.
Apache important files and directories on CentOS 8
The default server root directory: /etc/httpd
The default server root document directory which stores web files: /var/www/html
The main Apache configuration file: /etc/httpd/conf/httpd.conf
You can add additional configurations in: /etc/httpd/conf.d/
The configurations for modules: /etc/httpd/conf.modules.d/
Virtual hosts can be configured in file: /etc/httpd/conf.d/vhost.conf